J-Link 19-pin Cortex-M Adapter
Sold outThe SEGGER J-Link 19-pin Cortex-M Adapter allows JTAG, SWD and SWO connections between SEGGER J-Link debugger and Cortex-M based target hardware systems. It adapts from the 20-pin 0.1'' JTAG connector to a 19-pin 0.05'' Samtec FTSH connector as defined by ARM.
Overview
The J-Link 19-pin Cortex-M Adapter may also be used to connect J-Link to a non Cortex-M target as far as the target connector uses the same pinout as shown below.
By default, TRST is not connected, but the Cortex-M Adapter comes with a solder bridge (NR1) which allows TRST to be connected to pin 9 of the Cortex-M adapter.
SEGGER J-Link debuggers are the most popular choice for optimizing the debugging and flash programming experience.
Documentation
Debugging with the Arduino IDE 2.0
Learn how to set up a Zero board, J-Link and Atmel-ICE debuggers with the Arduino IDE 2.0, and how to debug a program.
Using the Segger J-Link debugger with the MKR boards
Learn how to set up a MKR board with the Segger J-link debugger.
Get Inspired

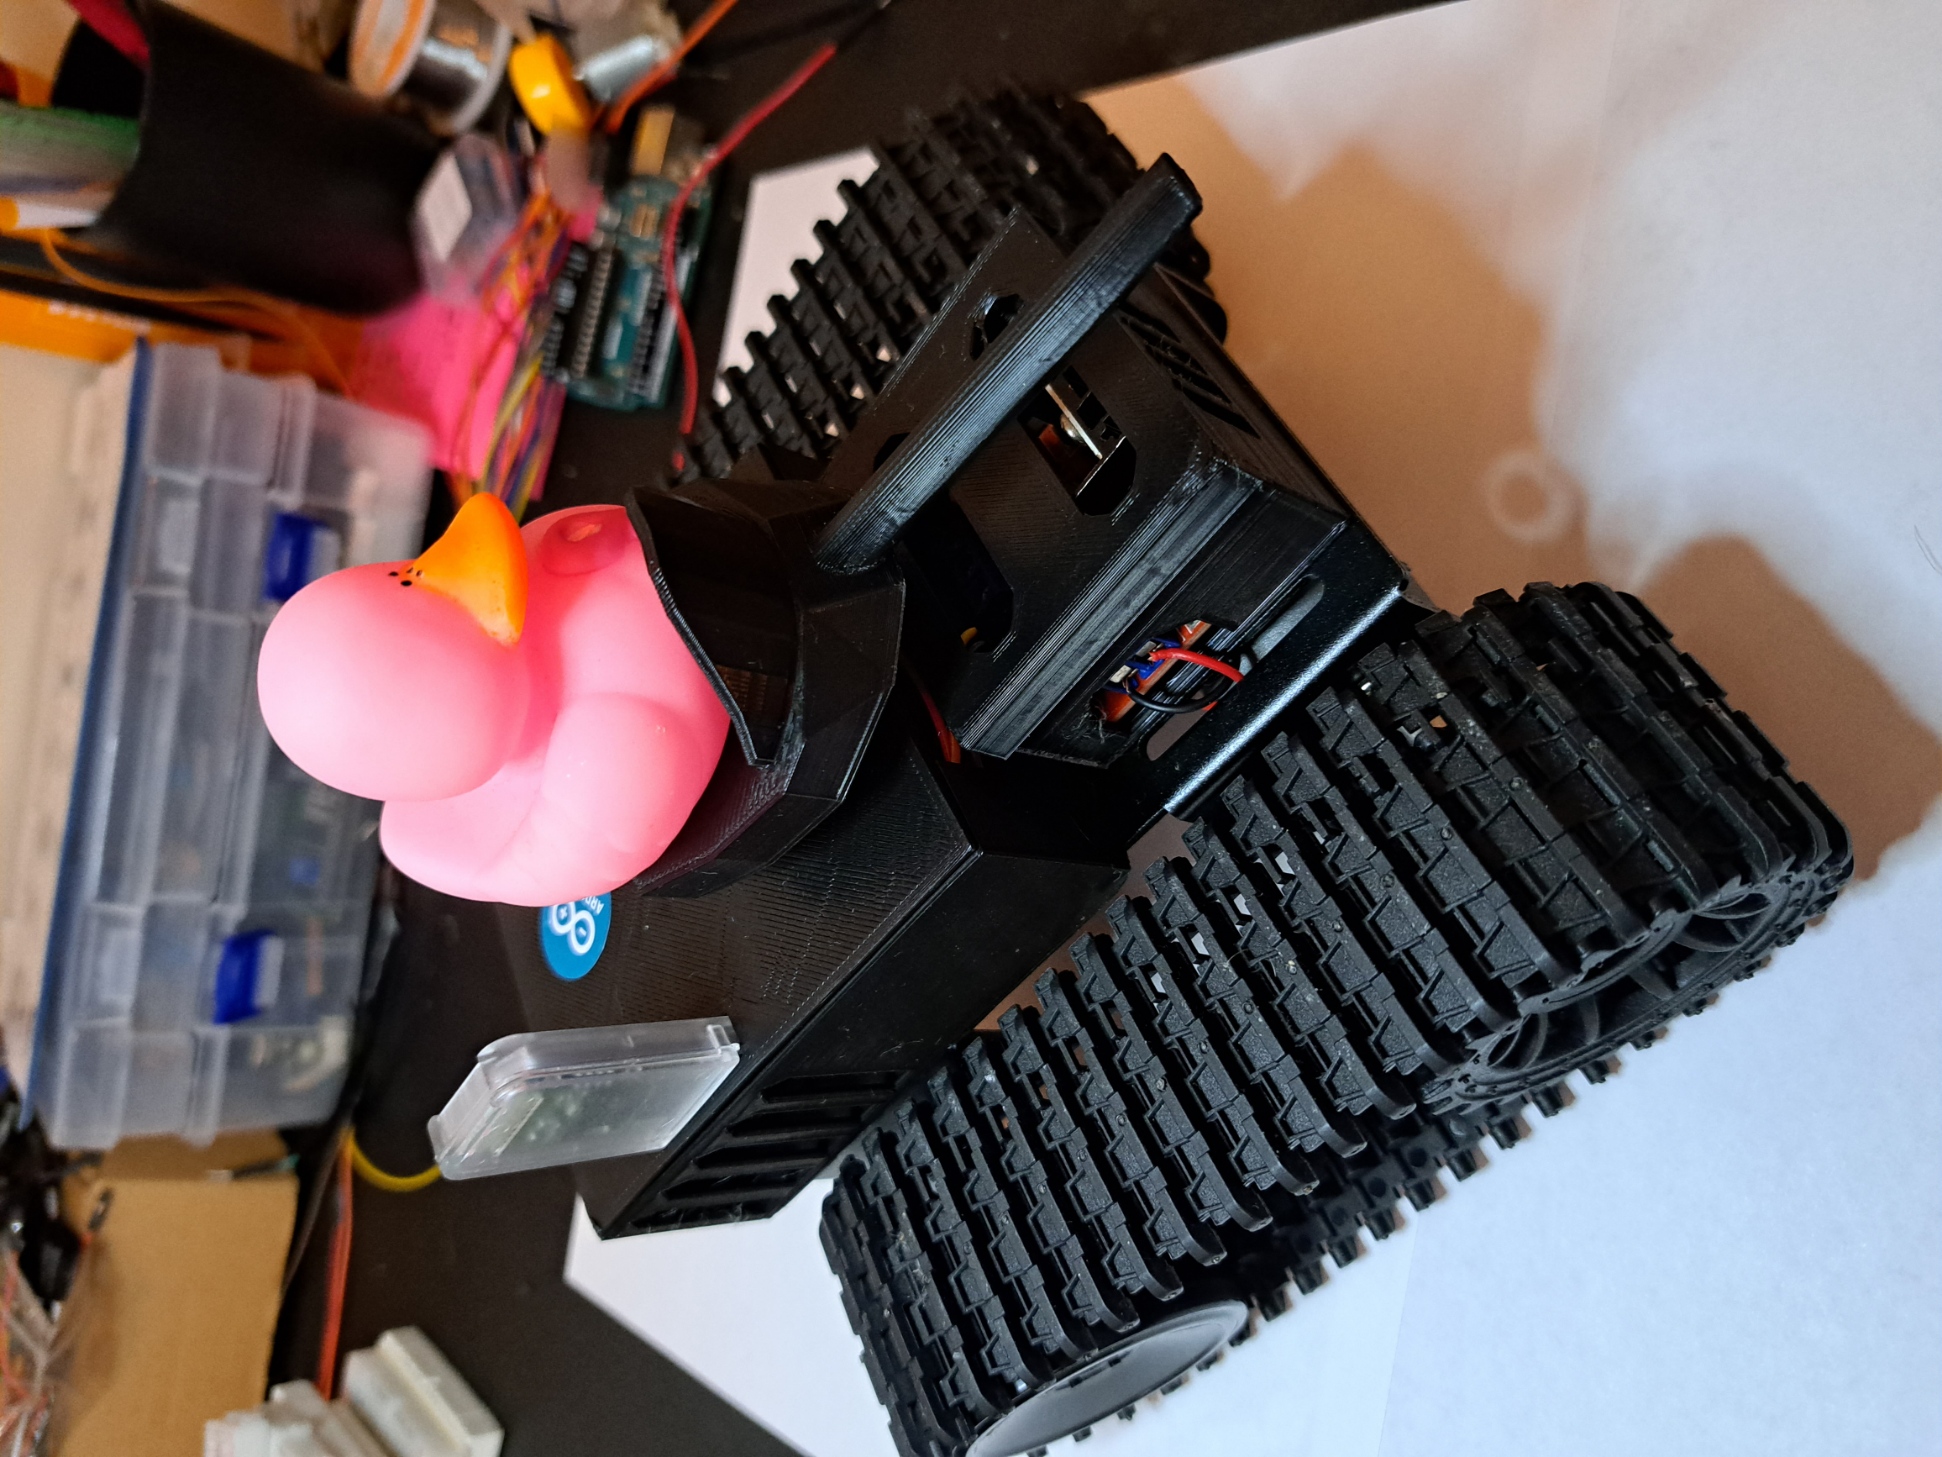
I'm excited to share the details of my BT Arduino Tank project, which incorporates some impressive 3D-printed components. While the main chassis of the tank was not 3D-printed, I utilized this technology to create two crucial parts: the enclosure for the motor driver and the compartment housing the remaining electronics. Additionally, I 3D-printed a cannon for an added touch of customization. The enclosure for the motor driver served as a protective housing, ensuring that the L298N motor driver module was securely mounted and shielded from external elements. By designing and 3D-printing this part, I could precisely fit it to the tank's specifications, providing a neat and organized arrangement of the electronics. In the same vein, the compartment for the remaining electronics, such as the Arduino Nano Every and the HC-05 Bluetooth module, was also 3D-printed. This enclosure offered a clean and organized solution for housing these components, safeguarding them while maintaining easy access for maintenance or modifications. Lastly, to enhance the tank's appearance and add a touch of personalization, I designed and 3D-printed a cannon. This custom-printed cannon perfectly complemented the overall design, making the tank even more visually appealing. By strategically incorporating 3D printing into specific parts of the project, I achieved a balance between functionality and customization. The precision and versatility of 3D printing allowed me to create tailored enclosures and a unique cannon, elevating the overall aesthetic and practicality of my BT Arduino Tank project.

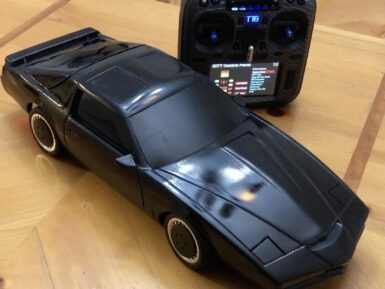
KITT (Knight Industries Two Thousand) was a fictional car based on a 1982 Pontiac Trans Am in the Knight Rider television series. KITT featured an artificial intelligence, voiced by the legendary William Daniels, and some iconic styling. Savall21 built a replica RC KITT and used Arduino boards to add sound and light effects that he can trigger with the RC transmitter. This is a custom RC car created by Savall21 using a Tamiya TT-02 kit and a resin 3D-printed body shell. The controller/transmitter is a Jumper T18, which has a customizable touchscreen interface. Savall21 programmed his own widget for that touchscreen. It mimics the fictional KITT control panel and lets the user select different sound effects and activate the iconic headlights. The T18 sends commands to an FrSky XR8 radio receiver located in the car. The FrSky receiver communicates with two Arduino Nano Every boards via the S.Port. The first Arduino controls the sound effects, which play through a DFPlayer Mini MP3 player module. The FrSky receiver simply sends a numerical code to the Arduino, which then activates the corresponding audio clip. The second Arduino drives a strip of WS2812B individually addressable RGB LEDs for the headlights and taillights. The user can control the headlights directly, while the taillights automatically come on any time the throttle is below 50%. For fans of Knight Rider and RC vehicles, this is the ultimate project. The car looks fantastic and the Arduino effects add polish to the build.


