


USB-C to HDMI multiport adapter 4K, USB hub, PD pass through
USB-C Multiport adapter | HDMI | 4K | 60W | PD Pass Through | 1x USB-A | 0.15m | Aluminium
Overview
Use the USB-C 3.2 Gen1 to HDMI 4K adapter to connect a HDMI screen or beamer to a notebook. The adapter supports a maximum resolution of 4096 x 2160 (4K) @ 30Hz. The AC7022 has a Power Delivery Pass-Through port (max. 60W) and an additional USB-A port.
- Solid aluminium USB-C 3.2 Gen1 to HDMI video adapter with a max. resolution of 4096 x 2160 (4K) @30Hz
- 60W Power Delivery Pass-Through port for charging your connected device
- USB-A 3.2 Gen1 data port
- Plug and play: a USB-C port with DisplayPort Alternate Mode (DP Alt Mode) is needed
Connect a notebook with USB-C to a monitor or beamer with HDMI
Connect a source device with USB-C to a monitor or beamer with HDMI by using the USB-C 3.2 Gen1 to HDMI adapter. The USB-C port of the source device must support DP Alt Mode. The USB-C to HDMI Adapter supports the maximum resolution of 4096 x 2160 (4K) @ 30Hz. The AC7022 has an additional USB-A data port.
USB-C Power Delivery Pass-Through port 60W
The USB-C Pass-Through port supports power delivery 60W. The notebook is always charged with the right amount of power thanks to the pre-defined Power Delivery profiles. The charger communicates with the notebook to negotiate the most effective charging profile.
Tech specs
| Product category | USB-C multiport adapters |
| USB Type-C | Yes |
| Length cable | 0.12 m |
| Shielding type | Aluminum Mylar |
| Conductor material | Tinned copper |
| Wire gauge | 32 AWG |
| Power Delivery ports | 1 |
| Max. Power Delivery power | 60 W |
| Supported Power Delivery profiles | 12.0V up to 2.58A, 15.0V up to 2.67A, 20.0V up to 2.75A, 9.0V up to 2.44A |
| Colour | Grey |
| Connections | HDMI, USB |
| Connections (computer) | USB C male (x1) |
| Connections (display) | HDMI A (full-size) female (x1) |
| 4K compatible | Yes |
| Max. resolution @ 30Hz | 3840 x 2160 |
| Max. resolution @ 60Hz | 1920 x 1080 |
| Chroma sampling | 4:04:04 |
| Video signal | HDMI |
| Video specification | HDMI High Speed |
| USB version | USB 3.2 Gen 1 - SuperSpeed (USB 3.0) |
| System requirements | USB Alternate mode |
| Power supply | Bus powered |
Get Inspired
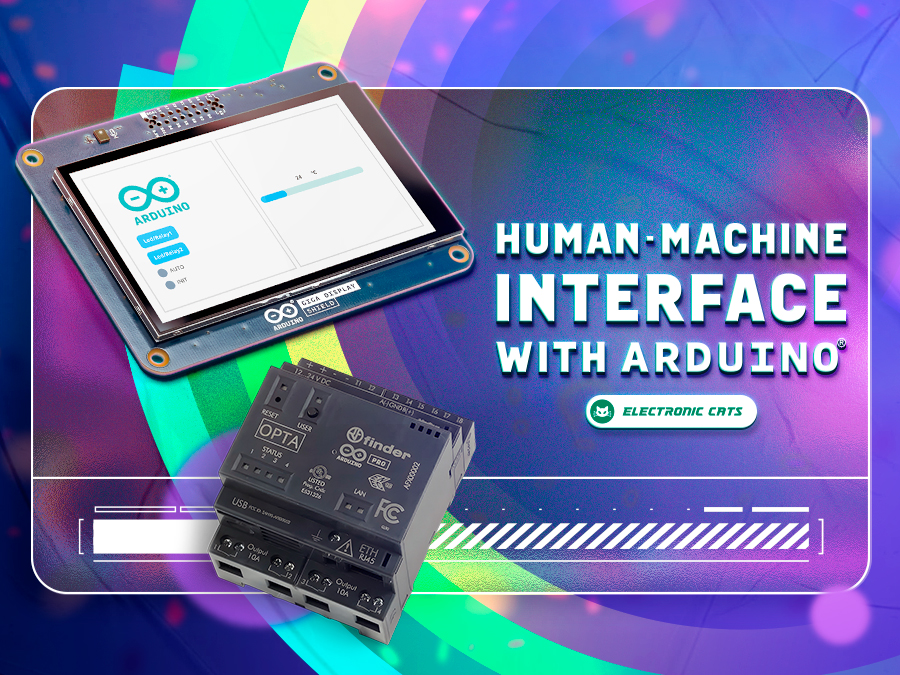
Learn how to build a complete HMI with Arduino that will allow you to interact with your projects in an intuitive and visual way.

OPC Unified Architecture – OPC UA in short – is a cross-platform, open-source machine-to-machine communication protocol for industrial automation. It was developed by the Open Platform Communications (OPC) Foundation and is defined in detail in the IEC 62541 standard. With the release of the Arduino_OPC_UA library we enable users to convert any product from our Arduino Opta range into an OPC UA-enabled device. Step-by-step guide to setting up OPC UA on Arduino Opta It’s as simple as uploading a single sketch onto your Opta and connecting it to an Ethernet network. Once uploaded, the OPC UA firmware exposes the Arduino Opta’s analog and digital inputs, the user button and LED (only Arduino Opta WiFi), as well as its relay outputs as properties that can be read from or written to using OPC UA. OPC UA communication is performed using OPC UA binary encoding via TCP sockets. Arduino_OPC_UA is a port of the Fraunhofer open62541 library implementing IEC 62541 in highly portable C99 for both Windows and Linux targets. One serious challenge during the porting of open62541 was to decide on sensible tradeoffs concerning RAM consumption, as using OPC UAs full namespace zero (NS0) requires up to 8 MB of RAM while the STM32H747 powering the Arduino Opta has a total of 1 MB of SRAM to offer – some of which already allocated by the the Arduino framework for the Arduino Opta. Expand functionality with Arduino Opta Modules and OPC UA integration Additionally, Arduino_OPC_UA supports the automatic discovery, configuration and exposure as OPC UA objects of the recently released Arduino Opta expansion modules. Currently three different expansion modules exist: Arduino Opta Analog Expansion (A0602), Arduino Opta Digital Expansion with electro-mechanical relay outputs (D1608E), and with solid-state relay outputs (DS1608S). During system start-up, the Arduino Opta’s expansion bus is queried for connected expansion modules and automatically configures them and


