


Overview
With this carrier in combination with any board from the MKR family, you can quickly create your next IoT project without any extra components. This carrier has all you need in sensors and actuators to create cool projects connected to the Internet.
Using the MKR IoT Carrier Rev2 in combination with any board of the MKR family, you can quickly build:
- Environment monitoring stations: Using the sensors on the carrier, you can map different phenomena around you. You can easily measure temperature, humidity, barometric pressure and air quality or detect the movement of the board, and in case you want to expand the sensor you can use any of the grove connectors to connect analog or I2C grove compatible modules. All this information can be stored in the SD card or sent directly to the Arduino IoT Cloud.
- GUI IoT interface: Even if you want to visualize sensor data or design your own user interface, you can use the OLED color display to create your own navigation menus or use the LEDs and the buzzer for feedback.
- Control external devices: Control electronic appliances up to 24 Volts using the two on-board relays. Either you want to turn on or off your reading lamp remotely through the Arduino IoT Cloud Remote app or use any of the sensor data to affect the behavior of the lamp.
Tech specs
| Humidity, temperature barometric and VOC sensor | BME688 |
| IMU | LSM6DSOX |
| Ambient light, proximity, color and gesture sensor | APDS-9960 |
| Capacitive buttons | 5 (Qtouch Pad) |
| Actuators | Buzzer, 5 RGB LEDs |
| 24V Relays | 2 (V23079) |
| Display | KD013QVFMD002-01 |
| Grove connectors | 2 connected to analog pins (A0/A6), 1 connected to I2C |
| Micro SD card slot | Micro SD card not included |
| Battery holder | 18650 Li-Ion rechargeable battery (battery not included) |
Resources for Safety and Products
Manufacturer Information
The production information includes the address and related details of the product manufacturer.
Arduino S.r.l.
Via Andrea Appiani, 25
Monza, MB, IT, 20900
https://www.arduino.cc/
Responsible Person in the EU
An EU-based economic operator who ensures the product's compliance with the required regulations.
Arduino S.r.l.
Via Andrea Appiani, 25
Monza, MB, IT, 20900
Phone: +39 0113157477
Email: support@arduino.cc
Documentation
Learn more
Get Inspired
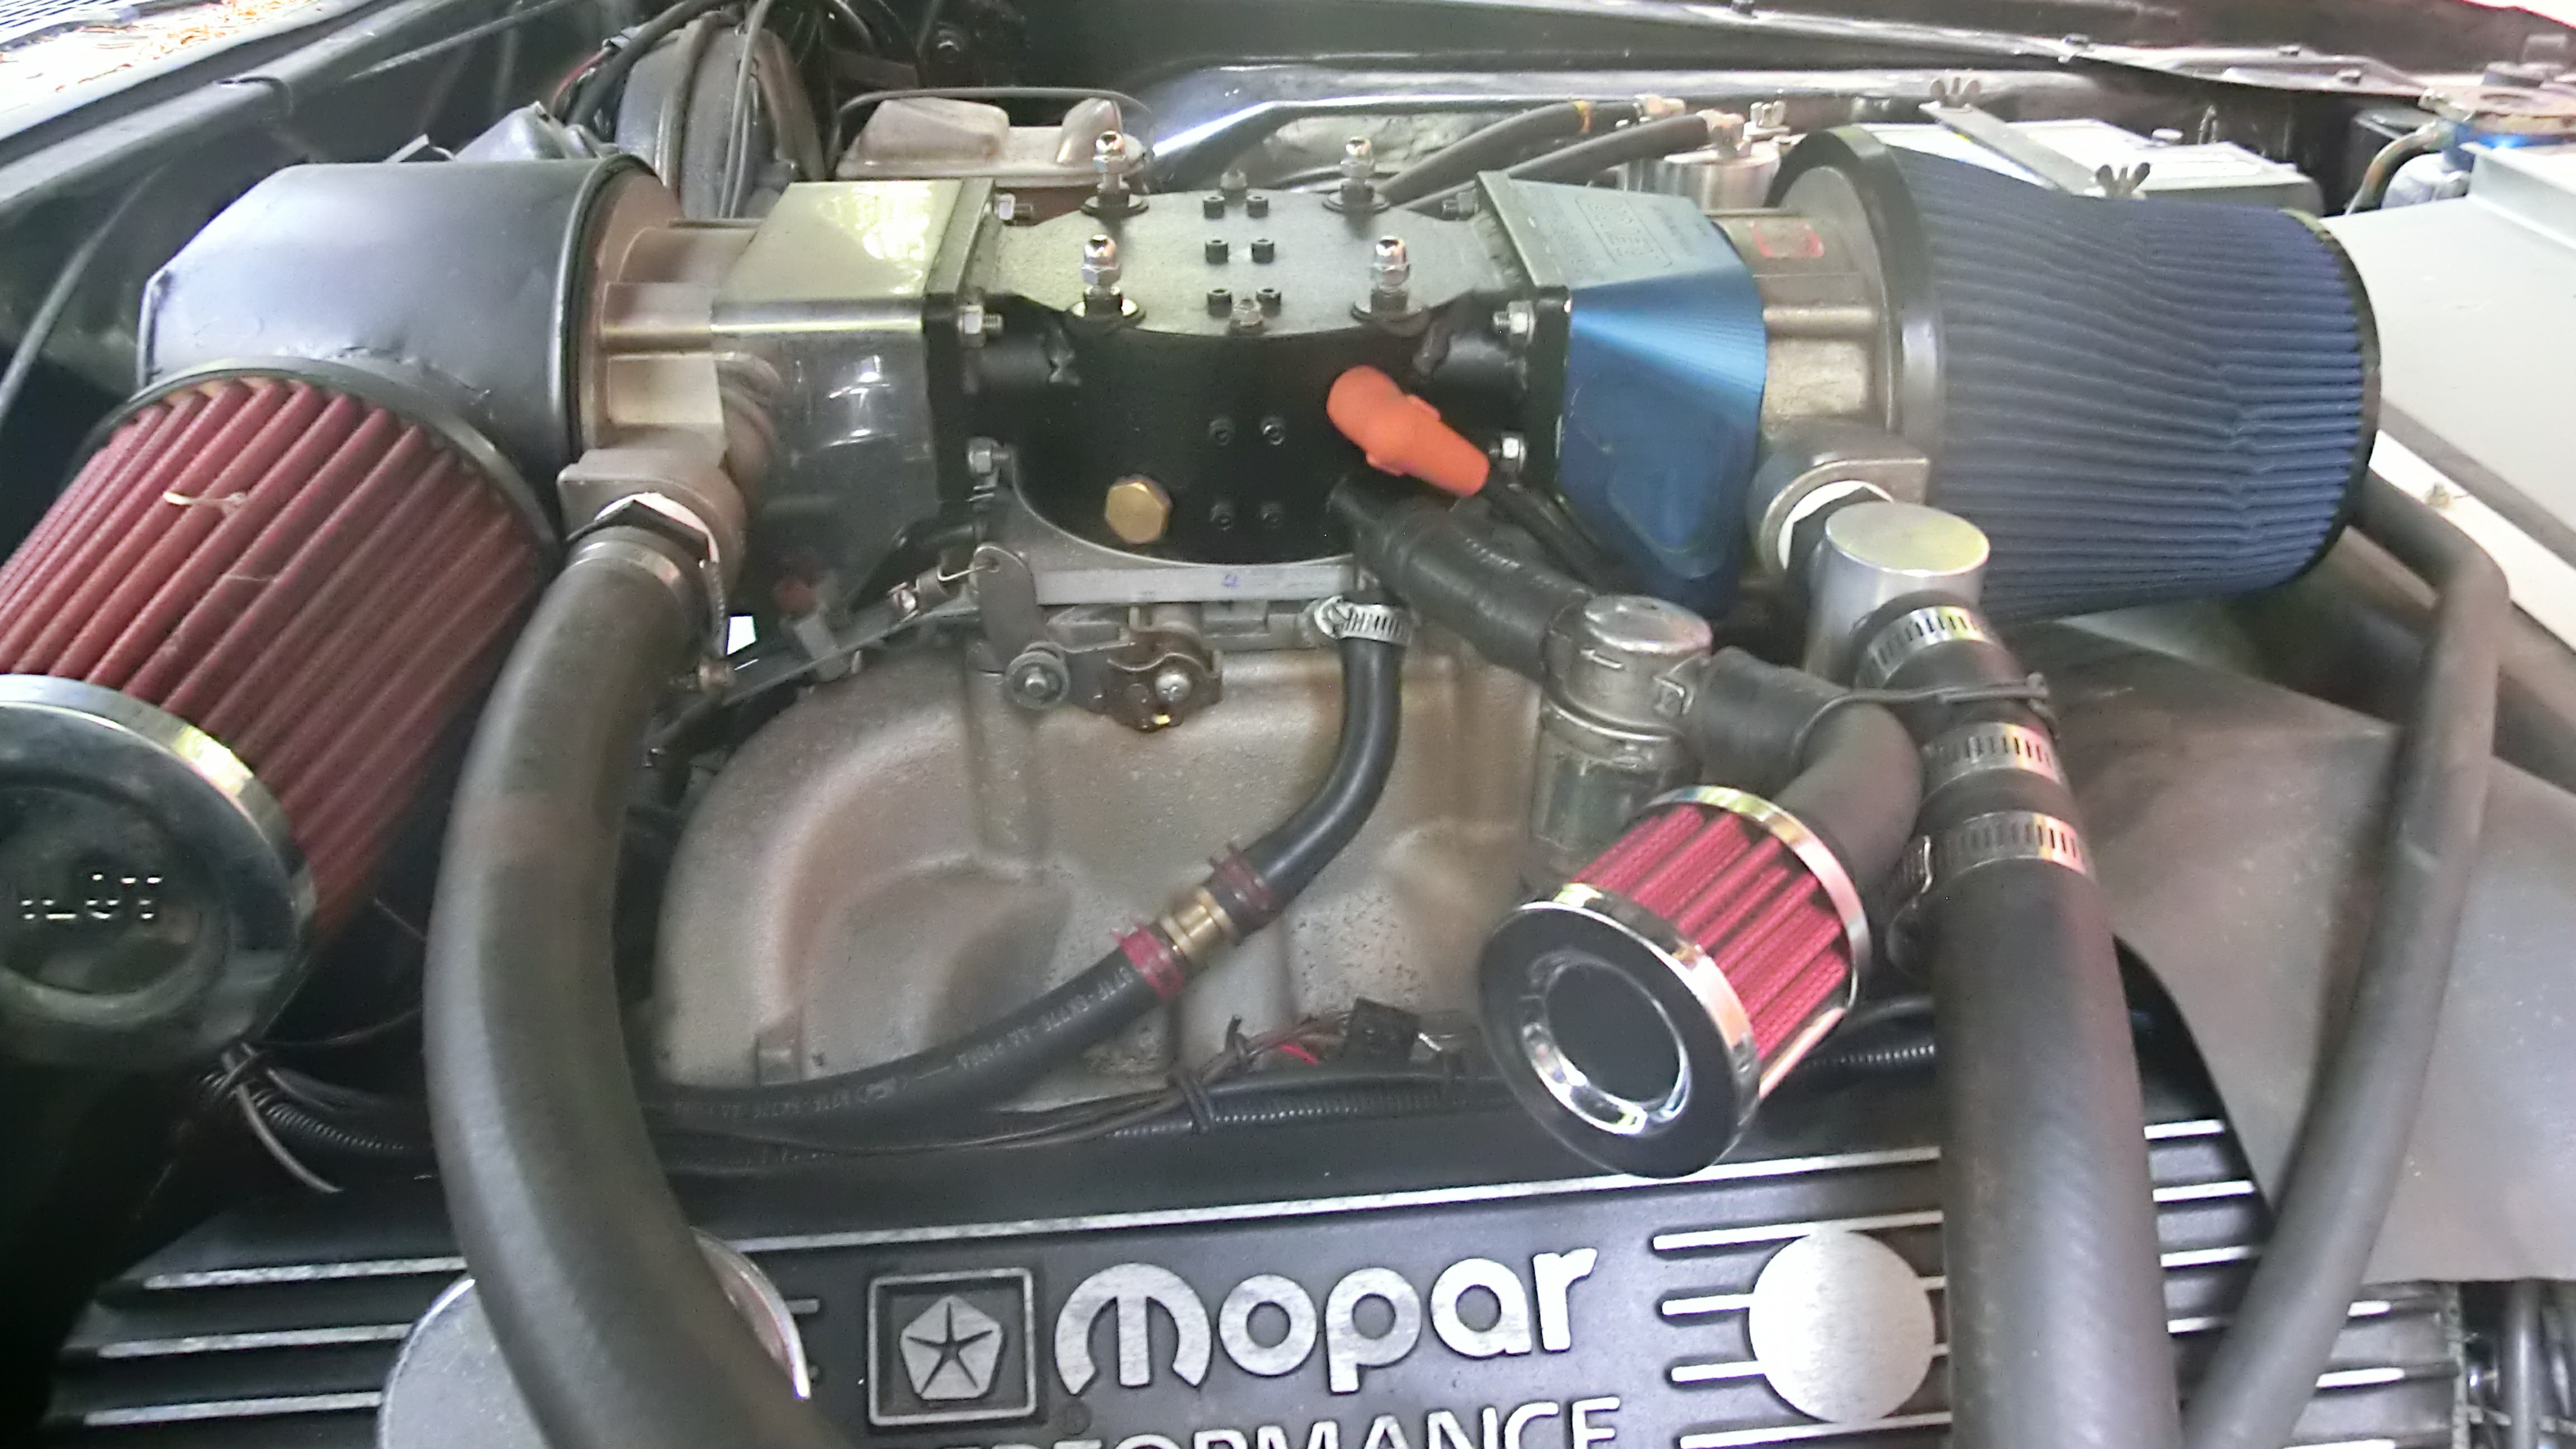
Control the air/fuel mixture for a better fuel economy of a engine with a Arduino Nano.
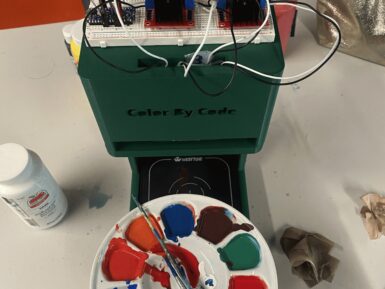
When you want to paint the walls in your bedroom that very specific shade of Misty Irish Green, all you have to do is head to your local hardware store and have them scan the corresponding card. The paint-mixing machine will then add the pigment to a white base and, a few minutes later, you have that exact color. So, shouldn’t you be able to do the same thing with acrylic paint for hobby purposes? Now you can, thanks to the “Color By Code” machine designed by Caltech students Frida Moreno and Asmat Kaur Taunque. Moreno and Taunque built Color By Code for a class project and it is, essentially, a hobby version of those hardware store paint-mixers intended for acrylic paint. As is the standard across many industries that deal with pigments, paint, and printing, this works using CMYK (cyan, magenta, yellow, key) color mixing. Here, the key is black and the machine takes an input color value for each component, then dispenses the paint in those ratios to achieve the desired hue. That all happens under the control of an Arduino Nano Every board. That operates peristaltic pumps, via L298N motor drivers, that dispense each color. Afterwards, a flushing procedure clears the lines before the next mix. The pumps fit into a 3D-printed stand, with the hoses dropping below to a waiting container. At this time, the user must set the color values through serial commands. But the team hopes to create a Bluetooth app in the future. They also plan to add a weight sensor, which would improve the machine’s accuracy.
FAQs
What are the main differences between MKR IoT Carrier and MKR IoT Carrier Rev2?
Some sensors have changed between both versions:
- The humidity sensor (HTS221) and barometric pressure sensor (LP22HB) was replaced with the BME6688 sensor.
- The IMU (LSM6DS3) was replaced with LSM6DSOX.
Some other components have been repositioned:
- Addition of a reset button
- 90° rotation of the relay connectors
- Repositioning of the light sensor (APDS-9960)
- Change of pins assigned to control the relays to pin 1 and 2
- Change grove connector assignment from pin A5 to A6
Do I have to change my sketch if I have been using the first revision of the MKR IoT Carrier?
The MKR IoT Carrier library is compatible with both revisions of the carrier, just make sure to use the latest version of the library.


