

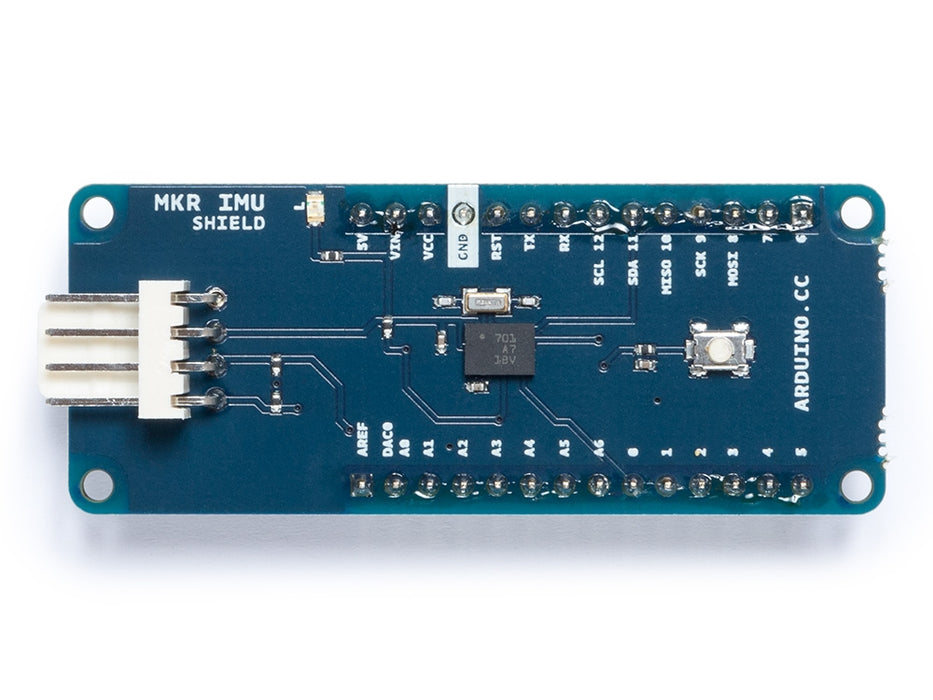


Arduino MKR IMU Shield
Need to integrate inertial measurements within your MKR based project? Plug in the Arduino MKR IMU shield and get the three-dimensional acceleration, yaw rate and magnetic field strength data in 3 perpendicular axes.
Overview
The MKR IMU Shield is based on the BNO055 absolute orientation sensor from Bosch Sensortec GmbH which integrates a triaxial 14-bit accelerometer, a triaxial 16-bit gyroscope with a range of ±2000 degrees per second and a triaxial geomagnetic sensor with a 32-bit microcontroller running the BSX3.0 FusionLib software. The sensor features three-dimensional acceleration, yaw rate and magnetic field strength data each in 3 perpendicular axes.
Tech specs
|
Sensor |
BNO055 from Bosch (product page) |
|
Operating voltage |
3.3V |
|
Extension interface |
4 pin header connector |
|
Communication protocol |
I2C |
|
Compatibility |
MKR Family |
Conformities
Resources for Safety and Products
Manufacturer Information
The production information includes the address and related details of the product manufacturer.
Arduino S.r.l.
Via Andrea Appiani, 25
Monza, MB, IT, 20900
https://www.arduino.cc/
Responsible Person in the EU
An EU-based economic operator who ensures the product's compliance with the required regulations.
Arduino S.r.l.
Via Andrea Appiani, 25
Monza, MB, IT, 20900
Phone: +39 0113157477
Email: support@arduino.cc
Documentation
OSH: Schematics
The Arduino MKR IMU Sheld is open-source hardware! You can build your own board using the following files:
EAGLE FILES IN .ZIP SCHEMATICS IN .PDFLearn more
Get Inspired
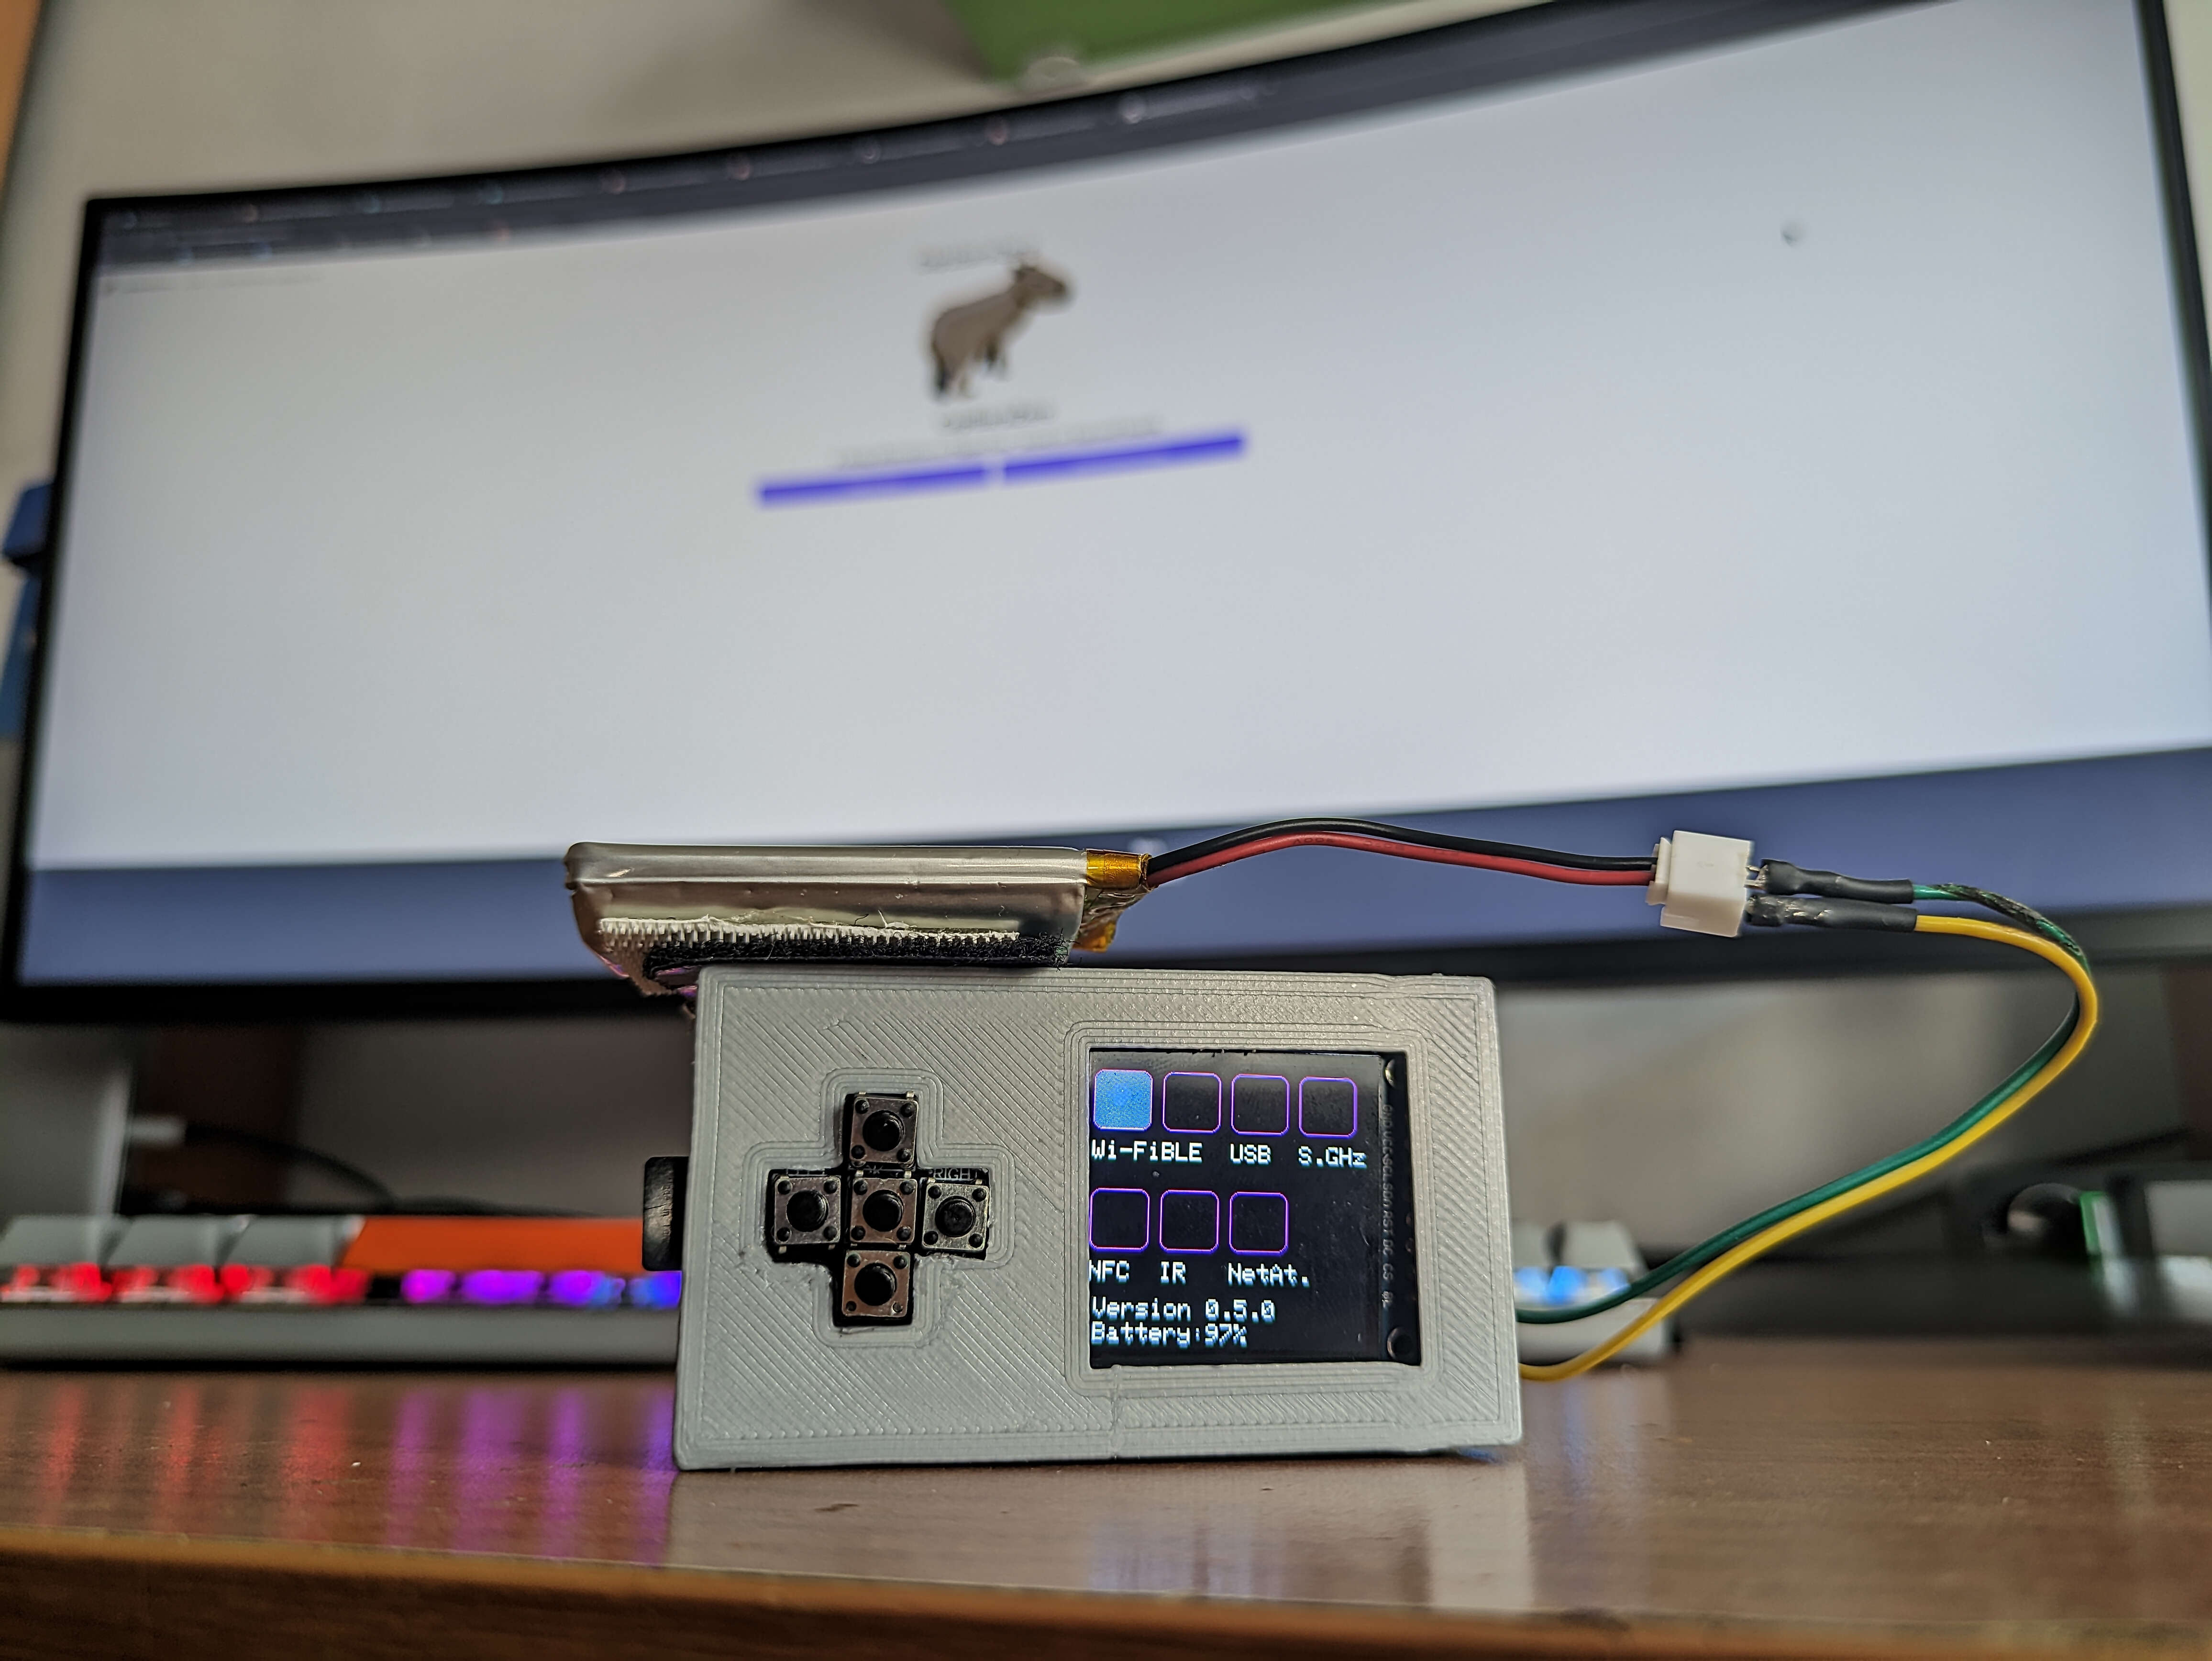
CapibaraZero: A multifunctional security and hacking tool designed to be an alternative of FlipperZero™
RS Components released the second video focused on the first steps with the Arduino Robot with Massimo Banzi, David Cuartielles and Xun Yang: In this video you will see where to find code examples on the IDE. The robot library comes with two folders named “learn” and “explore” with examples on how to use the software to program the top board – this is the board you will mainly interact with while the motor board runs its original firmware. One of the first examples of coding on the Arduino Robot is called “LOGO” which is very similar to an early educational programming language that controlled a virtual turtle moving across the screen with simple instructions. This time however, instead of having a small virtual turtle running on a screen, we have a robot that can respond to commands demonstrating a basic example of movement. “LOGO” invites users to interact with the robot using the keypad to tell the robot whether to move forwards/backwards or to turn left/right. The program can store a series of commands that will then be executed one at a time. Xun and David show users where to find the LOGO example and how to upload it to the robot's control board. You will notice that the robot's motors are disengaged when the USB cable is connected. The Arduino Robot can be pretty powerful and this feature prevents it from running away with your laptop! Since all motors are slightly different, users will have to configure the robot's movement using a different example called “Calibration”. Using a screwdriver on the trimmer on the bottom board, it is possible to balance the strength applied by each one of the wheels so that the robot moves straight when asked to. The video closes with an example of how to use a simple IR-receiver connected to one of the sensor inputs on the robot to control it using a small universal TV-remote. This program is also part of the basic list of examples in the library. Go and run with the first Arduino on wheels!


