TS80P (more) Soldering Iron (EU)
S80P is a smart soldering iron powered by USB Type-C® PD2.0/QC3.0 standard input, which can be powered by charging plugs, power banks and mobile power supplies that comply with PD2.0 (12V 3A)/QC3.0 (9V 2A) standard.
Overview
TS80P controller is made of aluminum alloy through CNC into a compact structure and high-tech design, ergonomic, beautiful and fashionable.
S80P is a smart soldering iron powered by USB Type-C® PD2.0/QC3.0 standard input,, which can be powered by charging plugs, power banks and mobile power supplies that comply with PD2.0 (12V 3A)/QC3.0 (9V 2A) standard.
Its output power has been increased from 18W to 30W max, with an 8-second heating time at fastest from room temperature to 300℃, meeting a wider range of soldering.
It features a brand new easy-push tip fastener, which provides a best holding experience and an easy push to loosen the soldering tip for quick replacement.
With a built-in smart chip, TS80P can smartly control the rise and fall of tip temperature.
Adopt safety circuit design, anti-static structure, usage safe.
Have sleep mode and automatic over-heating warning.
Through edit the parameter file, custom your own temperature curve and buttons function.
Open source for writing your own App.
Tech specs
- Screen: OLED Screen
- Power Interface: USB Type-C Port
- Certification: Compliant with EU Certification CE FCC
- Control Part: Length 96mm
- Net weight: 38g (Control Part)
- Data Transfer Interface: USB Type-C Port
Get Inspired

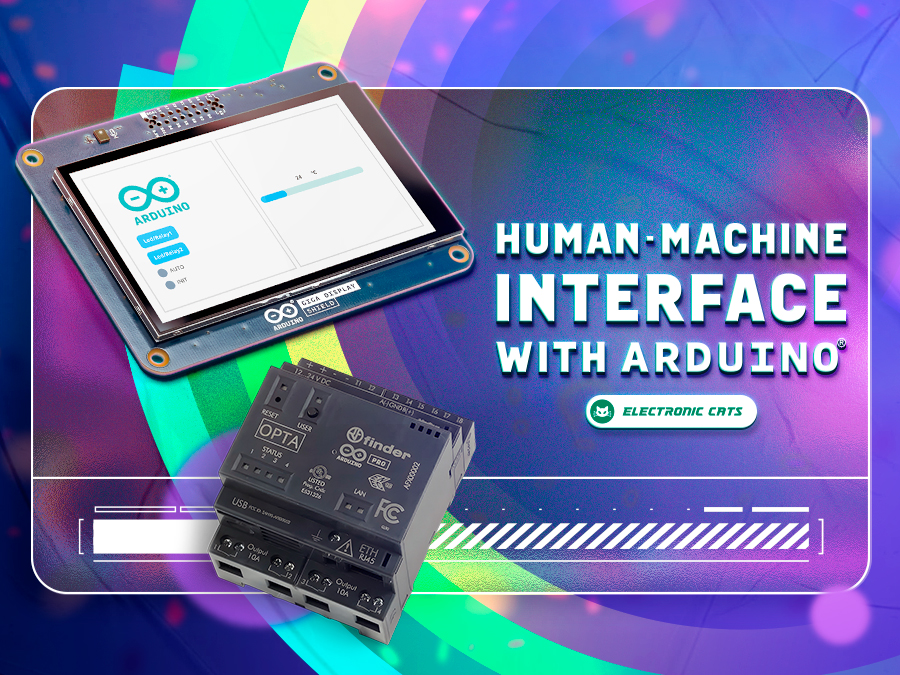
Learn how to build a complete HMI with Arduino that will allow you to interact with your projects in an intuitive and visual way.

OPC Unified Architecture – OPC UA in short – is a cross-platform, open-source machine-to-machine communication protocol for industrial automation. It was developed by the Open Platform Communications (OPC) Foundation and is defined in detail in the IEC 62541 standard. With the release of the Arduino_OPC_UA library we enable users to convert any product from our Arduino Opta range into an OPC UA-enabled device. Step-by-step guide to setting up OPC UA on Arduino Opta It’s as simple as uploading a single sketch onto your Opta and connecting it to an Ethernet network. Once uploaded, the OPC UA firmware exposes the Arduino Opta’s analog and digital inputs, the user button and LED (only Arduino Opta WiFi), as well as its relay outputs as properties that can be read from or written to using OPC UA. OPC UA communication is performed using OPC UA binary encoding via TCP sockets. Arduino_OPC_UA is a port of the Fraunhofer open62541 library implementing IEC 62541 in highly portable C99 for both Windows and Linux targets. One serious challenge during the porting of open62541 was to decide on sensible tradeoffs concerning RAM consumption, as using OPC UAs full namespace zero (NS0) requires up to 8 MB of RAM while the STM32H747 powering the Arduino Opta has a total of 1 MB of SRAM to offer – some of which already allocated by the the Arduino framework for the Arduino Opta. Expand functionality with Arduino Opta Modules and OPC UA integration Additionally, Arduino_OPC_UA supports the automatic discovery, configuration and exposure as OPC UA objects of the recently released Arduino Opta expansion modules. Currently three different expansion modules exist: Arduino Opta Analog Expansion (A0602), Arduino Opta Digital Expansion with electro-mechanical relay outputs (D1608E), and with solid-state relay outputs (DS1608S). During system start-up, the Arduino Opta’s expansion bus is queried for connected expansion modules and automatically configures them and
FAQs
- Problem 1: OLED displays "Sen-err".
Check 1: Is the soldering iron installed properly?
Check 2: If check 1 passes, then replace the soldering iron tip.
- Problem 2: Soldering iron restart automatically:
Check 1: Is it properly plugged into the power source?(Power adaptor selection please find the User Manual)
Check 2: Is the voltage too low? (Need to be set up in the config file)
Check 3: Replace the soldering iron tip
- Problem 3: No Display:
Check 1: If the cable is broken?
Check 2: Is there any data in USB mode?
Check 3: If the screen needs to be replaced?
- Problem 4: The temperature status display random numbers:
Check 1: Means the machine is checking status, which is normal.
Check 2: Is the soldering iron installed properly?
Check 3: Is the power cable in loose or defective contact?
- Problem 5: The tip doesn’t stick to the solder(TS80P)
1. Tip temperature is over 400℃.
2. The soldering side of the tip is not applied with solder properly.
3. Lack of flux during operation.
4. Rub the tip against dry or high sulfur sponge or fabric.
5. Tip touched organic material like plastic, silicone oil or other chemicals. 6. Using impure solder or solder that contains low proportion of tin.
- Problem 6: TS80P can be heated normally when it is powered by a power bank, but shuts down after maintaining a constant temperature.”
Check: Set the “LowCur” menu option to “ON”.


