Overview
Do you want to install your Arduino UNO project into a control cabinet? Look no further!
The ArduiBox Open DIY kits house an Arduino board and mount it to a DIN rail.
The kit comes with a prototyping board and a 5V voltage regulator (soldering required).
Along the edges of the prototyping board, all the IO and power pins are connected and marked.
Furthermore you can add an Arduino shield to the mainboard.
You can connect your work via terminals with the world outside the enclosure.
Please Note: This is the newer V2 version of the ArduiBox. Assembly (including solder) required. Arduino board not included.
Included in the kit:
- ArduiBox Enclosure Prototyping PCB Voltage regulator kit
- Reset switch
- Pin headers and terminal blocks Screws
Features:
- Milled cab rail enclosure
- Transparent top shell compatible with EN50022 DIN rails
- Prototyping plate - fits perfectly in the enclosure
- All Arduino pins are connected to marked pins beside the breadboard
- 4x 3-pin terminal blocks 1x 2-pin terminal block
- Sockets for popular Arduino boards in UNO or NANO shape
- Sockets for an optional shield (directly connected to the Arduino) contains parts for a 5V/1.5A voltage regulator (Vin 9...35V DC)
- Reset button (reachable via openings in the enclosure)
*The boards and shields in the pictures are not included.
Get Inspired

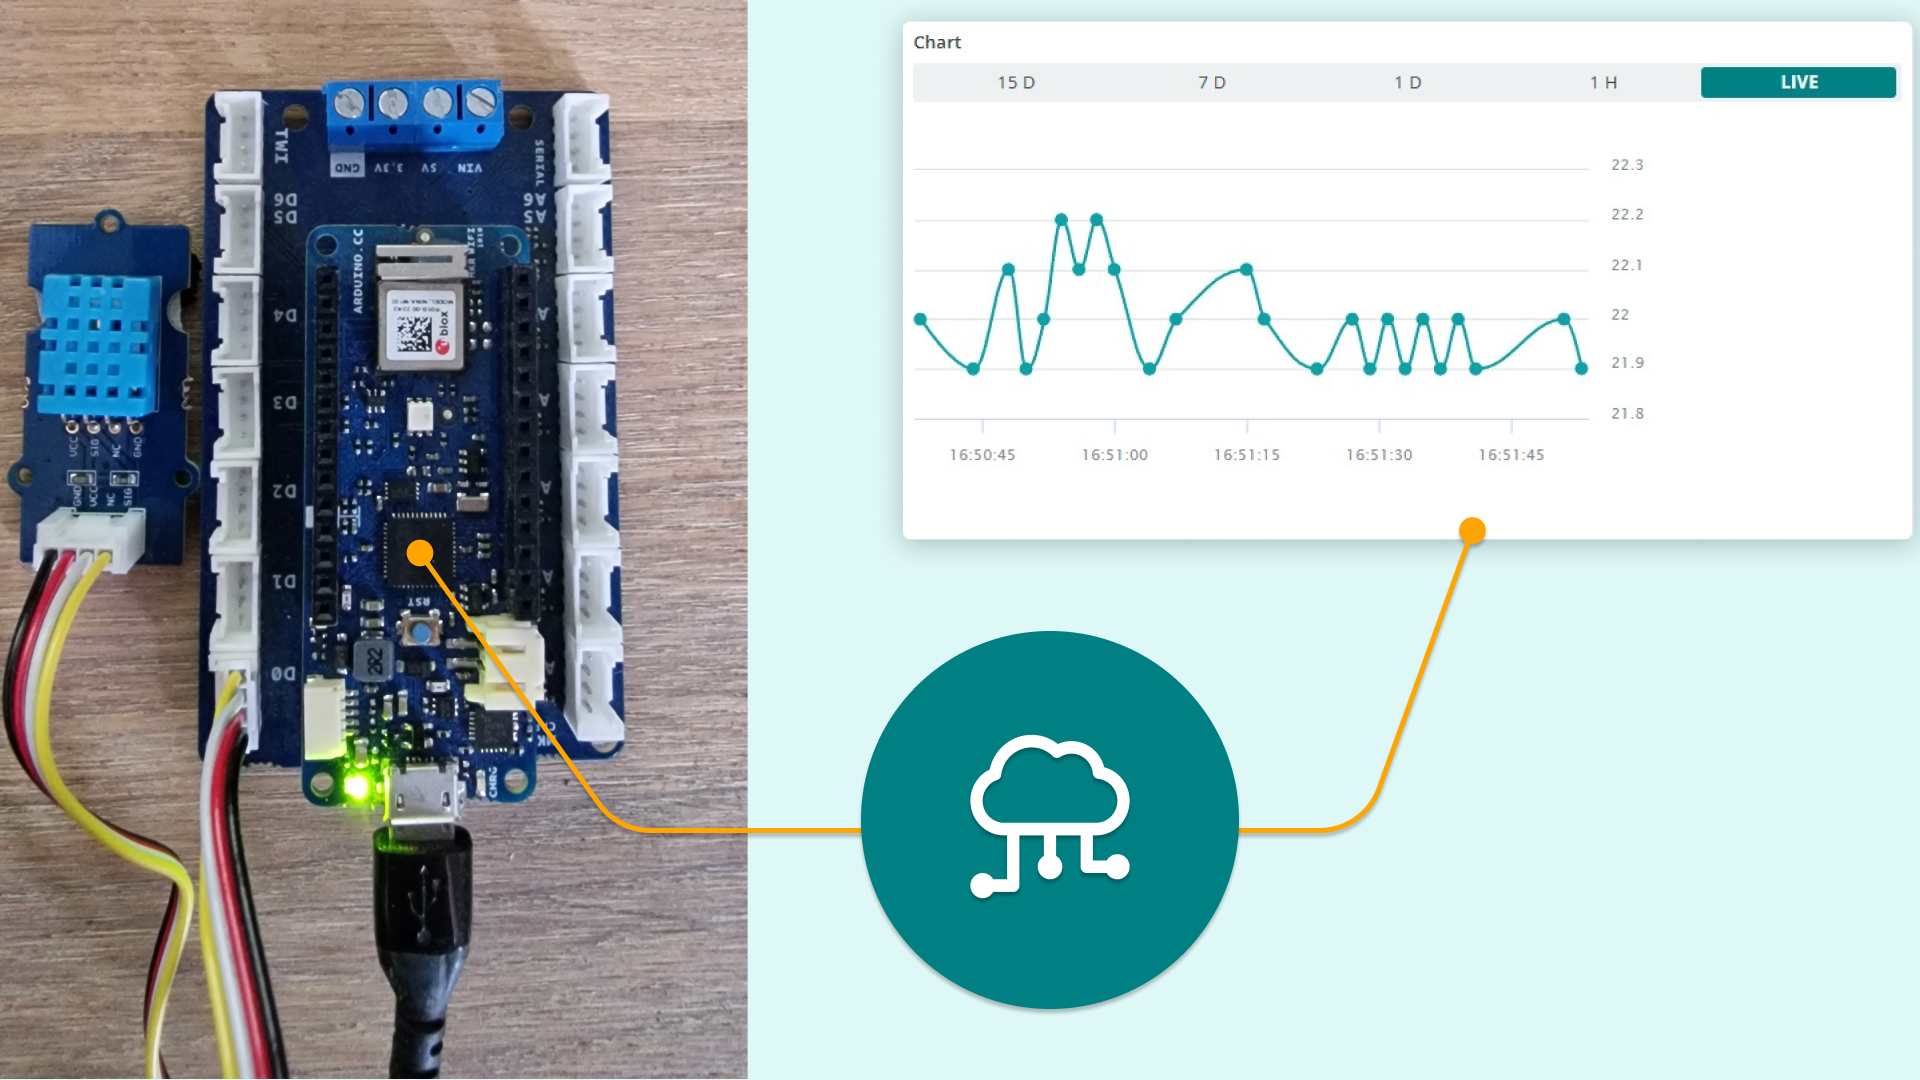
Easy data logging with grove sensors using the MKR Connector Carrier and MKR boards

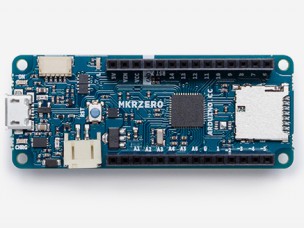
Say hello to the newest member of the Arduino family! The MKRZero--now available on our stores at the price of $21.90/€20.90 (+ tax)--shrinks the functionality of the Arduino Zero down into an Arduino MKR1000 form factor, making it a great educational tool for learning about 32-bit application development. Like the Zero, the latest board is based on a Microchip SAM D21 ARM Cortex®-M0+ MCU. An integrated SD connector with dedicated SPI interfaces (SPI1) allows you to play with files without any extra hardware, while an analog converter enables you to monitor its battery voltage. The MKRZero’s features in a nutshell: small form factor number crunching capability low power consumption integrated battery management USB host integrated SD management programmable SPI, I2C and UART Interested? You can explore the MKRZero in more detail, including its technical documentation, via the links below: Product Page Getting Started Guide Tutorials on Project Hub Make a ScheduledDataLogging Create a I2S synth generator (theremin) Read battery voltage Make it rain On the software side: If you use the Arduino IDE, you will need to add the new Intel SAMD Core, selecting Tools menu, then Boards, and last Boards Manager on the Arduino Software (IDE). If you use Arduino Web Editor, everything is already updated! Watch out music makers, we’ve got some news for you! We have released two libraries for your enjoyment: Arduino Sound library - a simple way to play and analyze audio data using Arduino on SAM D21-based boards. I2S library - to use the I2S protocol on SAMD21-based boards. For those who don’t know, I2S (Inter-IC Sound) is an electrical serial bus interface standard for connecting digital audio devices. Buy a brand new Arduino MKRZero now! Join the discussion on the Arduino Forum!


