


Overview
Great and powerful sensor for everyone that wants to know the exact concentration of CO2(Carbon Dioxide) in the air.
This is the first CO2 sensor compatible with Arduino. The output voltage of the module falls as the concentration of the CO2 increases. The potentiometer onboard is designed to set the threshold of voltage. As long as the CO2 concentration is high enough (the voltage is lower than the threshold), a digital signal (ON/OFF) will be released.
- It has MG-811 sensor module which is highly sensitive to CO2 and less sensitive to alcohol and CO, low humidity & temperature dependency.
- Onboard heating circuit brings the best temperature for sensor to function. Internal power boosting to 6V for heating sensor best performance.
- This sensor has an onboard conditioning circuit for amplifying output signal.
To ease the difficulty of using this CO2 sensor, a Gravity Interface is adapted to allow plug&play. The Arduino IO expansion shield is the best match for this CO2 senor connecting to your Arduino microcontroller.
This is an electrochemical Arduino-based CO2 sensor, it is suitable for qualitative analysis.
- Air Quality Control
- Ferment Process Control
- Room Temperature CO2 concentration Detection
DOCUMENTS
Tech specs
| Operating Voltage | 5V |
| Interface | Gravity Analog |
| Surface | Immersion gold surface |
| Connector | High quality |
| Output | One digital output |
| Onboard | Heating circuit |
| Size | 32x42mm (1.26x1.65") |
Get Inspired
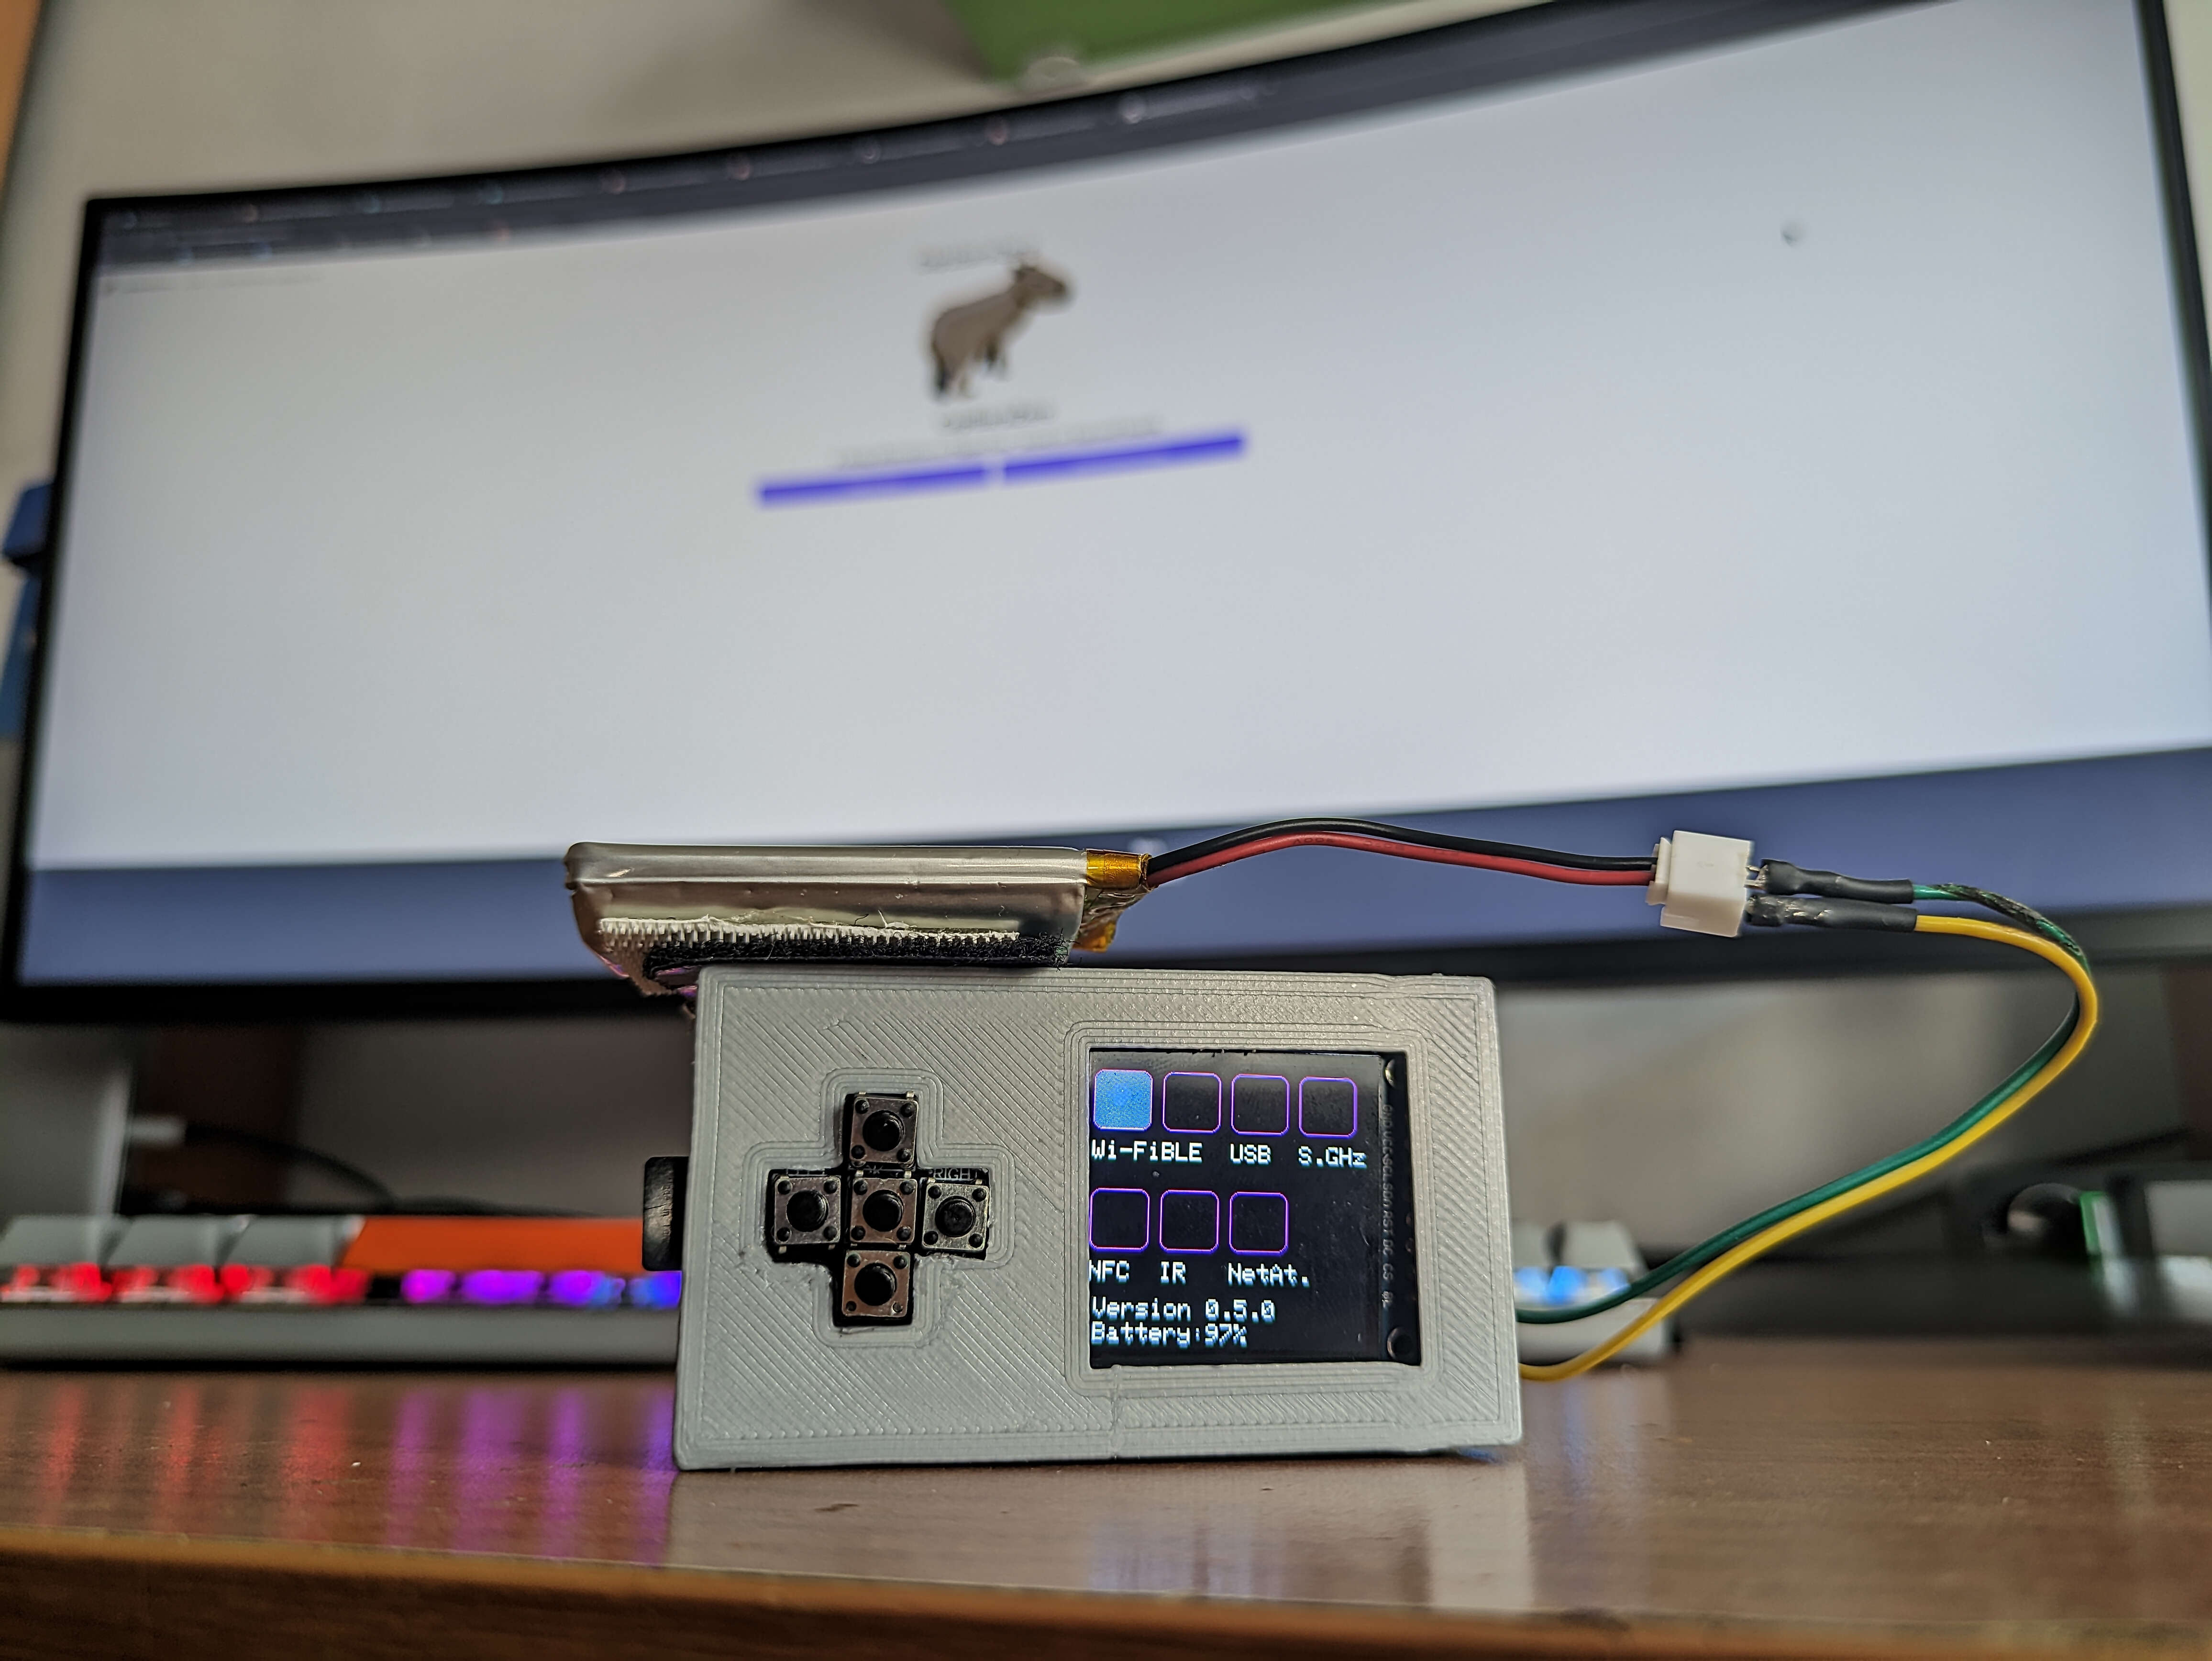
CapibaraZero: A multifunctional security and hacking tool designed to be an alternative of FlipperZero™
RS Components released the second video focused on the first steps with the Arduino Robot with Massimo Banzi, David Cuartielles and Xun Yang: In this video you will see where to find code examples on the IDE. The robot library comes with two folders named “learn” and “explore” with examples on how to use the software to program the top board – this is the board you will mainly interact with while the motor board runs its original firmware. One of the first examples of coding on the Arduino Robot is called “LOGO” which is very similar to an early educational programming language that controlled a virtual turtle moving across the screen with simple instructions. This time however, instead of having a small virtual turtle running on a screen, we have a robot that can respond to commands demonstrating a basic example of movement. “LOGO” invites users to interact with the robot using the keypad to tell the robot whether to move forwards/backwards or to turn left/right. The program can store a series of commands that will then be executed one at a time. Xun and David show users where to find the LOGO example and how to upload it to the robot's control board. You will notice that the robot's motors are disengaged when the USB cable is connected. The Arduino Robot can be pretty powerful and this feature prevents it from running away with your laptop! Since all motors are slightly different, users will have to configure the robot's movement using a different example called “Calibration”. Using a screwdriver on the trimmer on the bottom board, it is possible to balance the strength applied by each one of the wheels so that the robot moves straight when asked to. The video closes with an example of how to use a simple IR-receiver connected to one of the sensor inputs on the robot to control it using a small universal TV-remote. This program is also part of the basic list of examples in the library. Go and run with the first Arduino on wheels!


