Arduino Nano Every with headers
Looking for the Nano Every? Check the Arduino Every - Pack solution!
Overview
The Nano Every is Arduino’s 5V compatible board in the smallest available form factor: 45x18mm!
The Arduino Nano is the preferred board for many projects requiring a small and easy to use microcontroller board. The small footprint and low price, make the Nano Every particularly suited for wearable inventions, low-cost robotics, electronic musical instruments, and general use to control smaller parts of a larger projects.
The Arduino Nano Every is an evolution of the traditional Arduino Nano board but features a lot more powerful processor, the ATMega4809. This will allow you to make larger programs than with the Arduino Uno (it has 50% more program memory), and with a lot more variables (the RAM is 200% bigger).
An Improved Arduino Nano
The board comes in two options: with or without headers, allowing you to embed the Nano Every inside any kind of inventions, including wearables. The board comes with tessellated connectors and no components on the B-side. These features allow you to solder the board directly onto your own design, minimizing the height of your whole prototype.
Oh, and did we mention the improved price? Thanks to a revised manufacturing process, the Arduino Nano Every costs a fraction of the original Nano … what are you waiting for? Upgrade now!
Get Many Nanos at Once
If you are in the situation of needing many boards for your classroom, or if you need to present a complex prototype with many functional blocks, there is also the possibility of getting an Arduino Nano Every pack with a discounted pack price, saving on the unit price of each board.
The pack is available in two sizes containing either 3 or 6 boards, without headers. Whether you want to minimize the size of your prototypes or share the joy of electronics with your friends, this is the best option you will find.
Get to Know More
To know more about the history of the Nano Every don’t miss the interview with Dario Pennisi, Arduino’s hardware and firmware development manager, who led the development of this board.
Getting Started
The Getting Started section contains all the information you need to configure your board, use the Arduino Software (IDE), and start tinkering with coding and electronics.
Need Help?
Check the Arduino Forum for questions about the Arduino Language, or how to make your own Projects with Arduino. Need any help with your Nano Every board please get in touch with the official Arduino User Support as explained in our Contact Us page.
Warranty
You can find here your board warranty information.
Tech specs
The Arduino Nano Every is based on the ATMega4809 microcontroller.
| Microcontroller | ATMega4809 (datasheet) |
| Operating Voltage | 5V |
| VIN min-MAX | 7-21V |
| DC Current per I/O Pin | 20 mA |
| DC Current for 3.3V Pin | 50 mA |
| Clock Speed | 20MHz |
| CPU Flash Memory | 48KB (ATMega4809) |
| SRAM | 6KB (ATMega4809) |
| EEPROM | 256byte (ATMega4809) |
| PWM Pins | 5 (D3, D5, D6, D9, D10) |
| UART | 1 |
| SPI | 1 |
| I2C | 1 |
| Analog Input Pins | 8 (ADC 10 bit) |
| Analog Output Pins | Only through PWM (no DAC) |
| External Interrupts | all digital pins |
| LED_BUILTIN | 13 |
| USB | Uses the ATSAMD11D14A (datasheet) |
| Length | 45 mm |
| Width | 18 mm |
| Weight | 5 gr (with headers) |
Conformities
Resources for Safety and Products
Manufacturer Information
The production information includes the address and related details of the product manufacturer.
Arduino S.r.l.
Via Andrea Appiani, 25
Monza, MB, IT, 20900
https://www.arduino.cc/
Responsible Person in the EU
An EU-based economic operator who ensures the product's compliance with the required regulations.
Arduino S.r.l.
Via Andrea Appiani, 25
Monza, MB, IT, 20900
Phone: +39 0113157477
Email: support@arduino.cc
Documentation
OSH: Schematics
The Arduino Nano Every is open-source hardware! You can build your own board using the following files:
EAGLE FILES IN .ZIP SCHEMATICS IN .PDF FRITZING IN .FZPZ
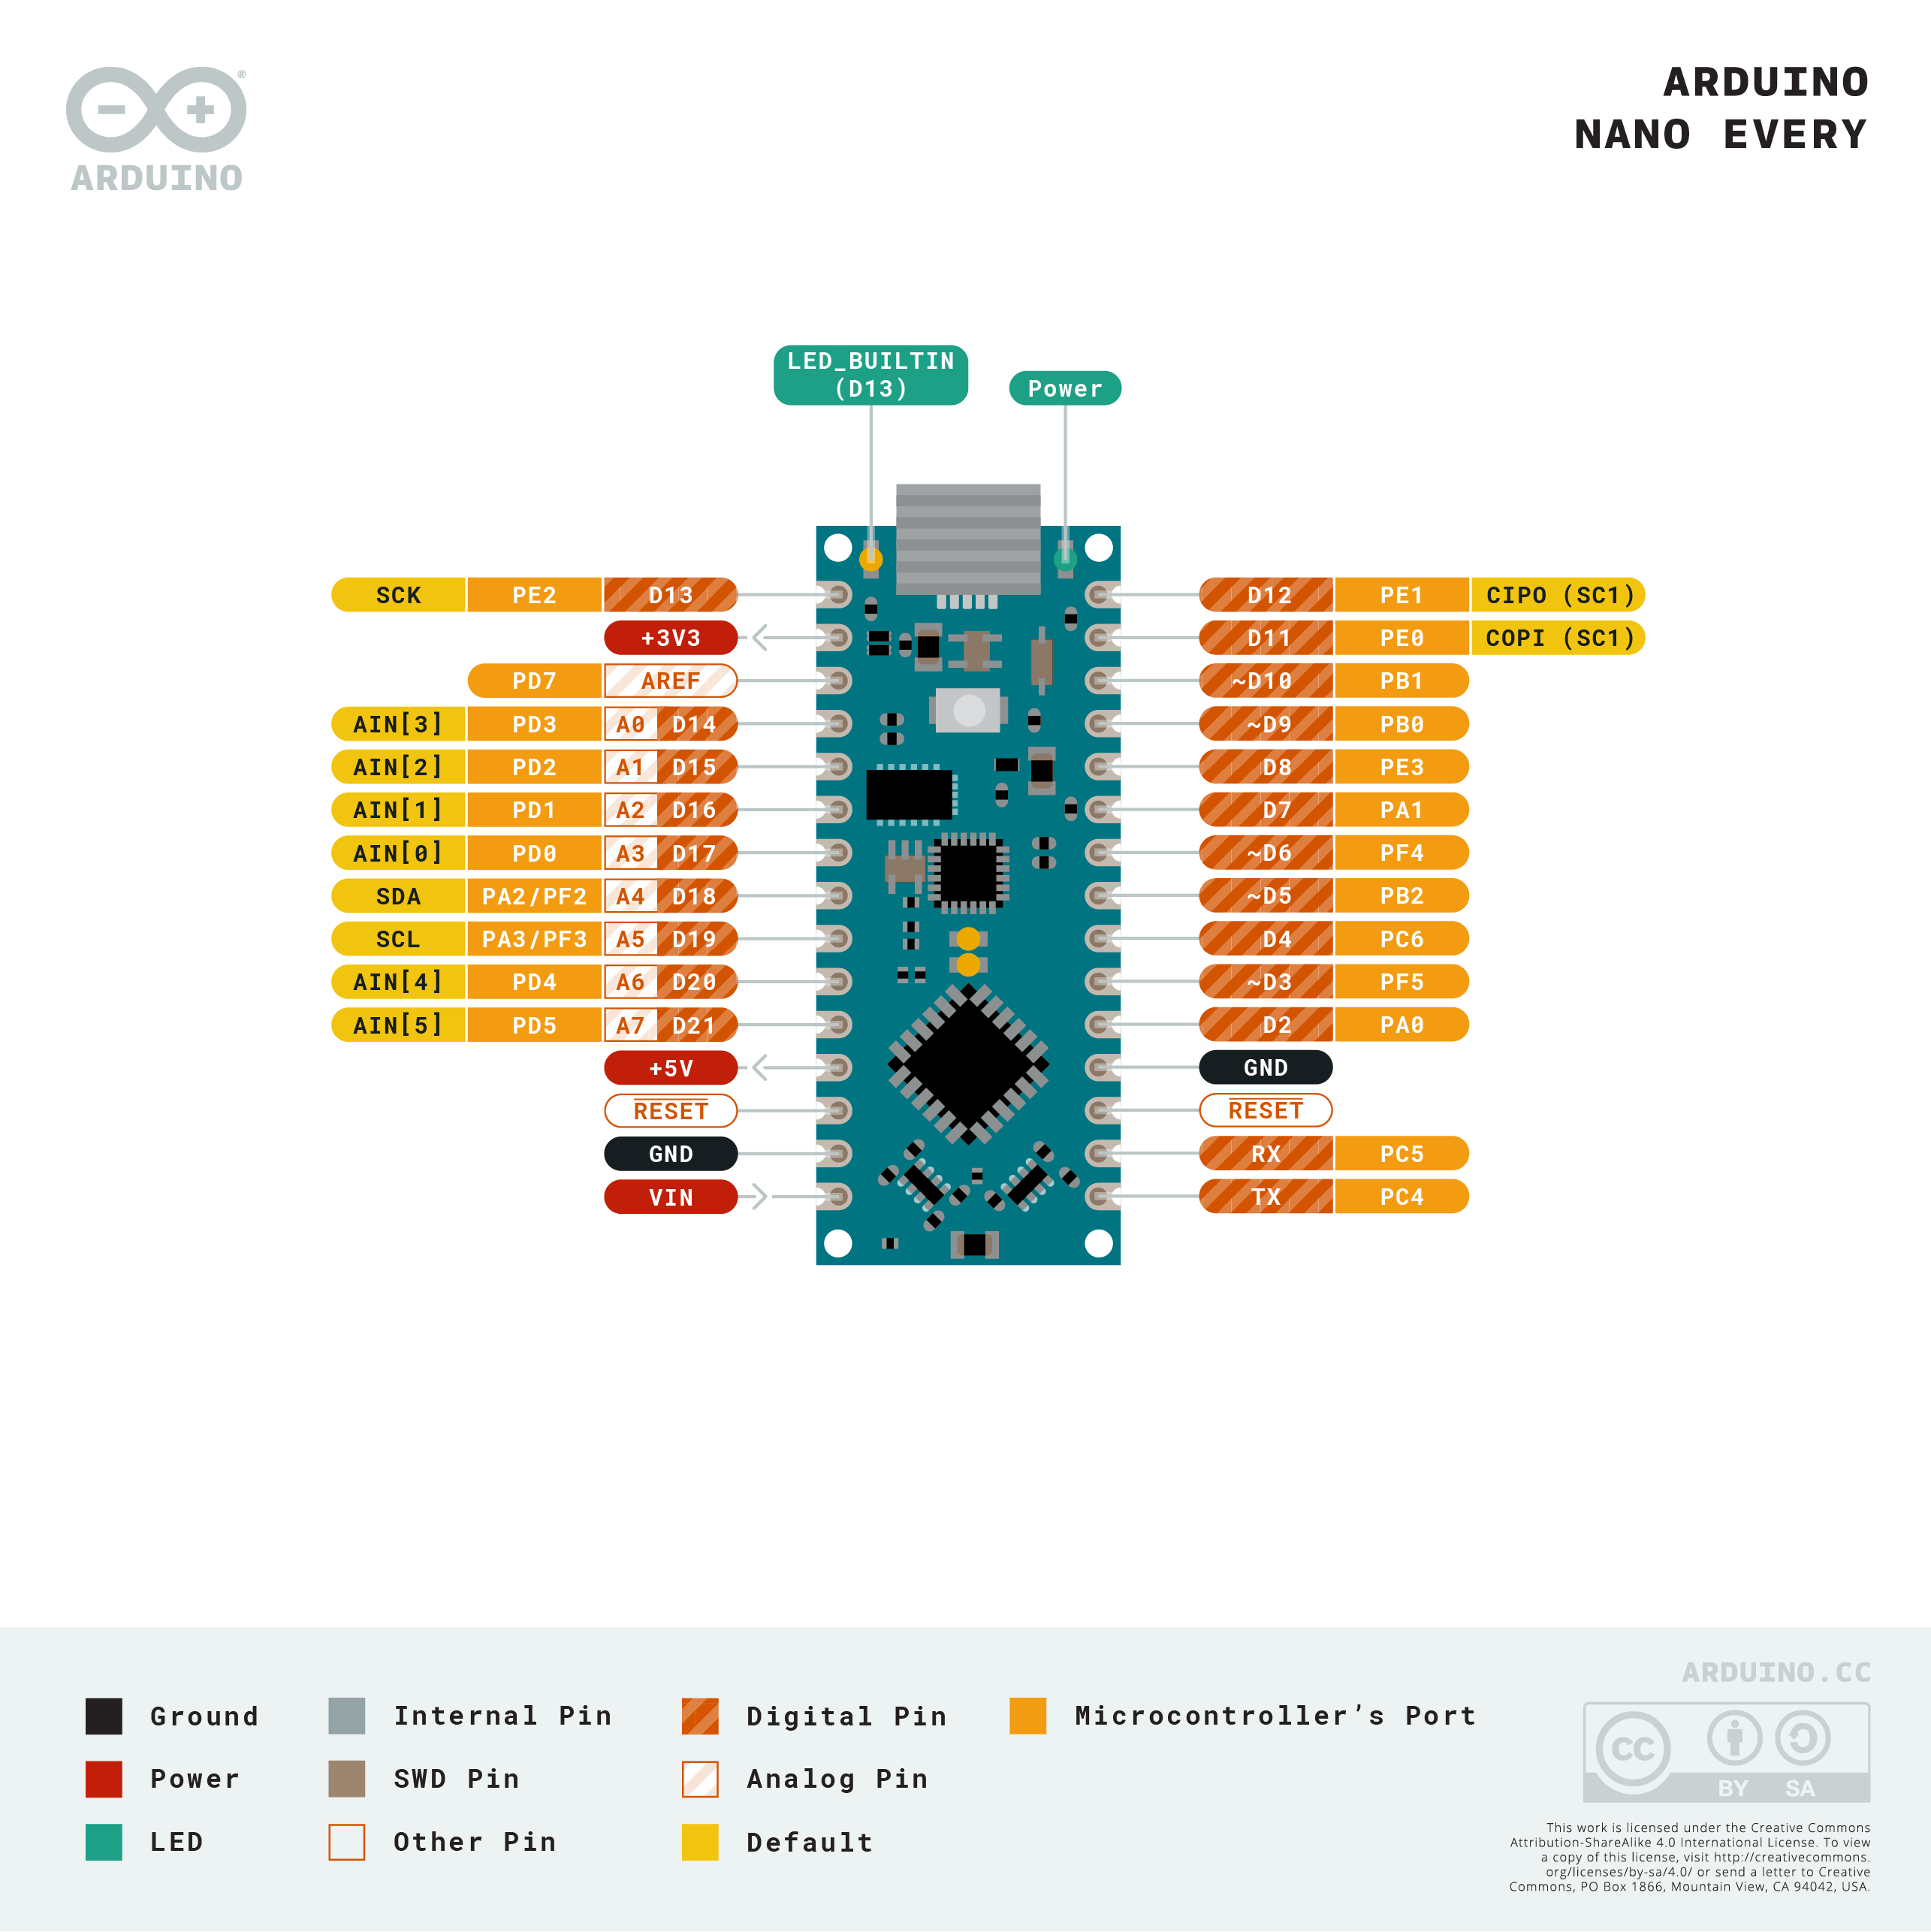
Pinout Diagram

Download the full pinout diagram as PDF here.
Download the Fritzing file here.
Interactive Board Viewer
Learn more
Get Inspired

I have prepare home Automoation project using Arduino nano esp32

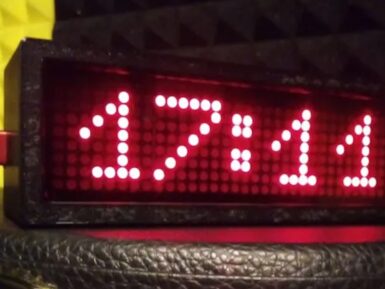
There are almost endless variations of clocks for sale on the internet today, but it is still easy to end up in a situation where you can't quite find a model with the style and features you want. Marco Zonca ended up with that problem while searching for a new clock to put in his music studio. Nothing on the market fit the bill, so he built this minimalist network-updated digital clock. Zonca wanted a simple design, the ability to adjust brightness, and NTP (Network Time Protocol) updates. There are clocks available with those features, but nothing in the style Zonca wanted. So he created the perfect clock for himself. It displays 24-hour time across a red LED matrix, lets the user control settings like brightness via Bluetooth® Low Energy communication, and always stays in sync with network time. An Arduino Nano ESP32 board, programmed through Arduino Web Editor, controls all of those functions. It mounts onto a custom PCB that Zonca designed for this clock. The PCB also hosts an 8×32 LED matrix display with MAX7219 driver. Three buttons on the PCB let the user select modes. The PCB fits into a black 3D-printed enclosure that reflects the overall minimalist style. Now Zonca has the perfect clock for his music studio. If you like the look of it, the sketch, PCB files, and 3D enclosure are all available on Hackster.io.
FAQs
Batteries, Pins and board LEDs
- Batteries: the Nano Every has no battery connector, nor charger. You can connect any external battery of your liking as long as you respect the voltage limits of the board.
- Vin: This pin can be used to power the board with a DC voltage source. If the power is fed through this pin, the USB power source is disconnected. This pin is an INPUT. Respect the voltage limits of 7-21V to assure the proper functionality of the board.
- 5V: This pin outputs 5V from the board when powered from the USB connector or from the VIN pin of the board.
- 3.3V: This pin outputs 3.3V through the on-board voltage regulator.
- LED ON: This LED is connected to the 5V input from either USB or VIN.


